1. Configure OpenID with FusionAuth
In the following example we will setup a FusionAuth OpenID Connect configuration. We need to give it a name and a tenant (if there is a tenant other than the default). Then click save.
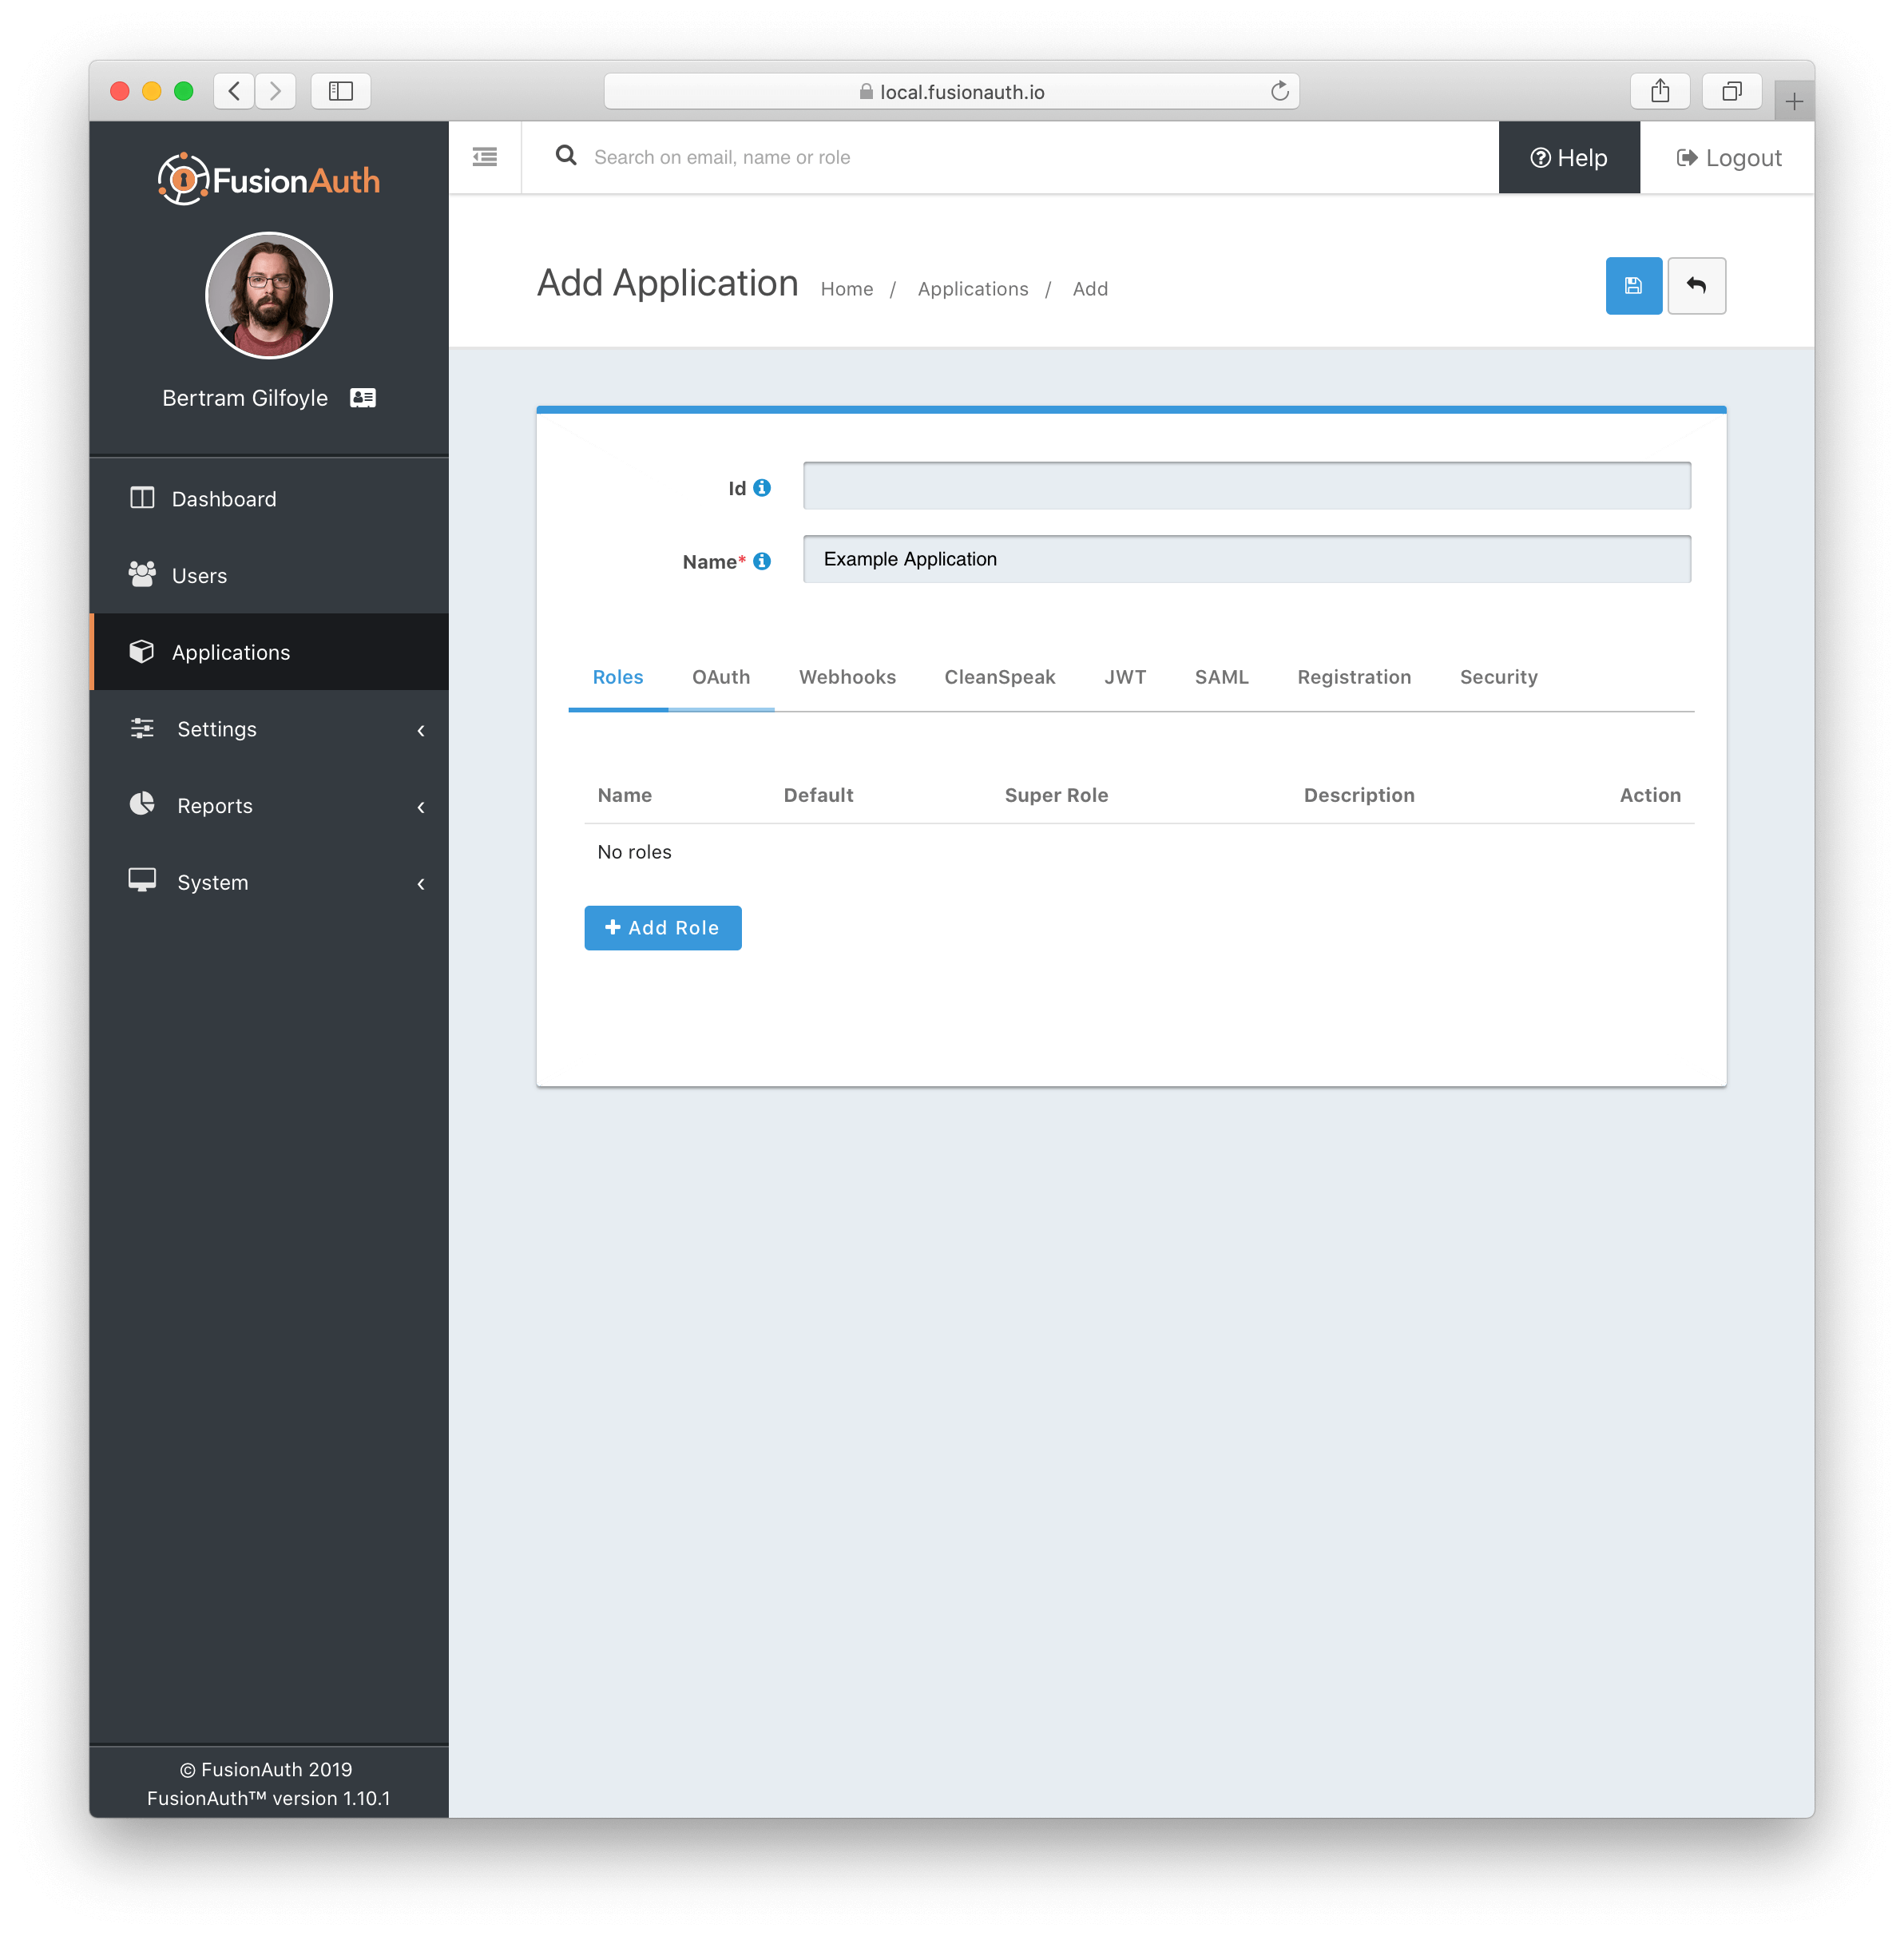
1.1. Create a FusionAuth Application
The first step will be to create a FusionAuth application.
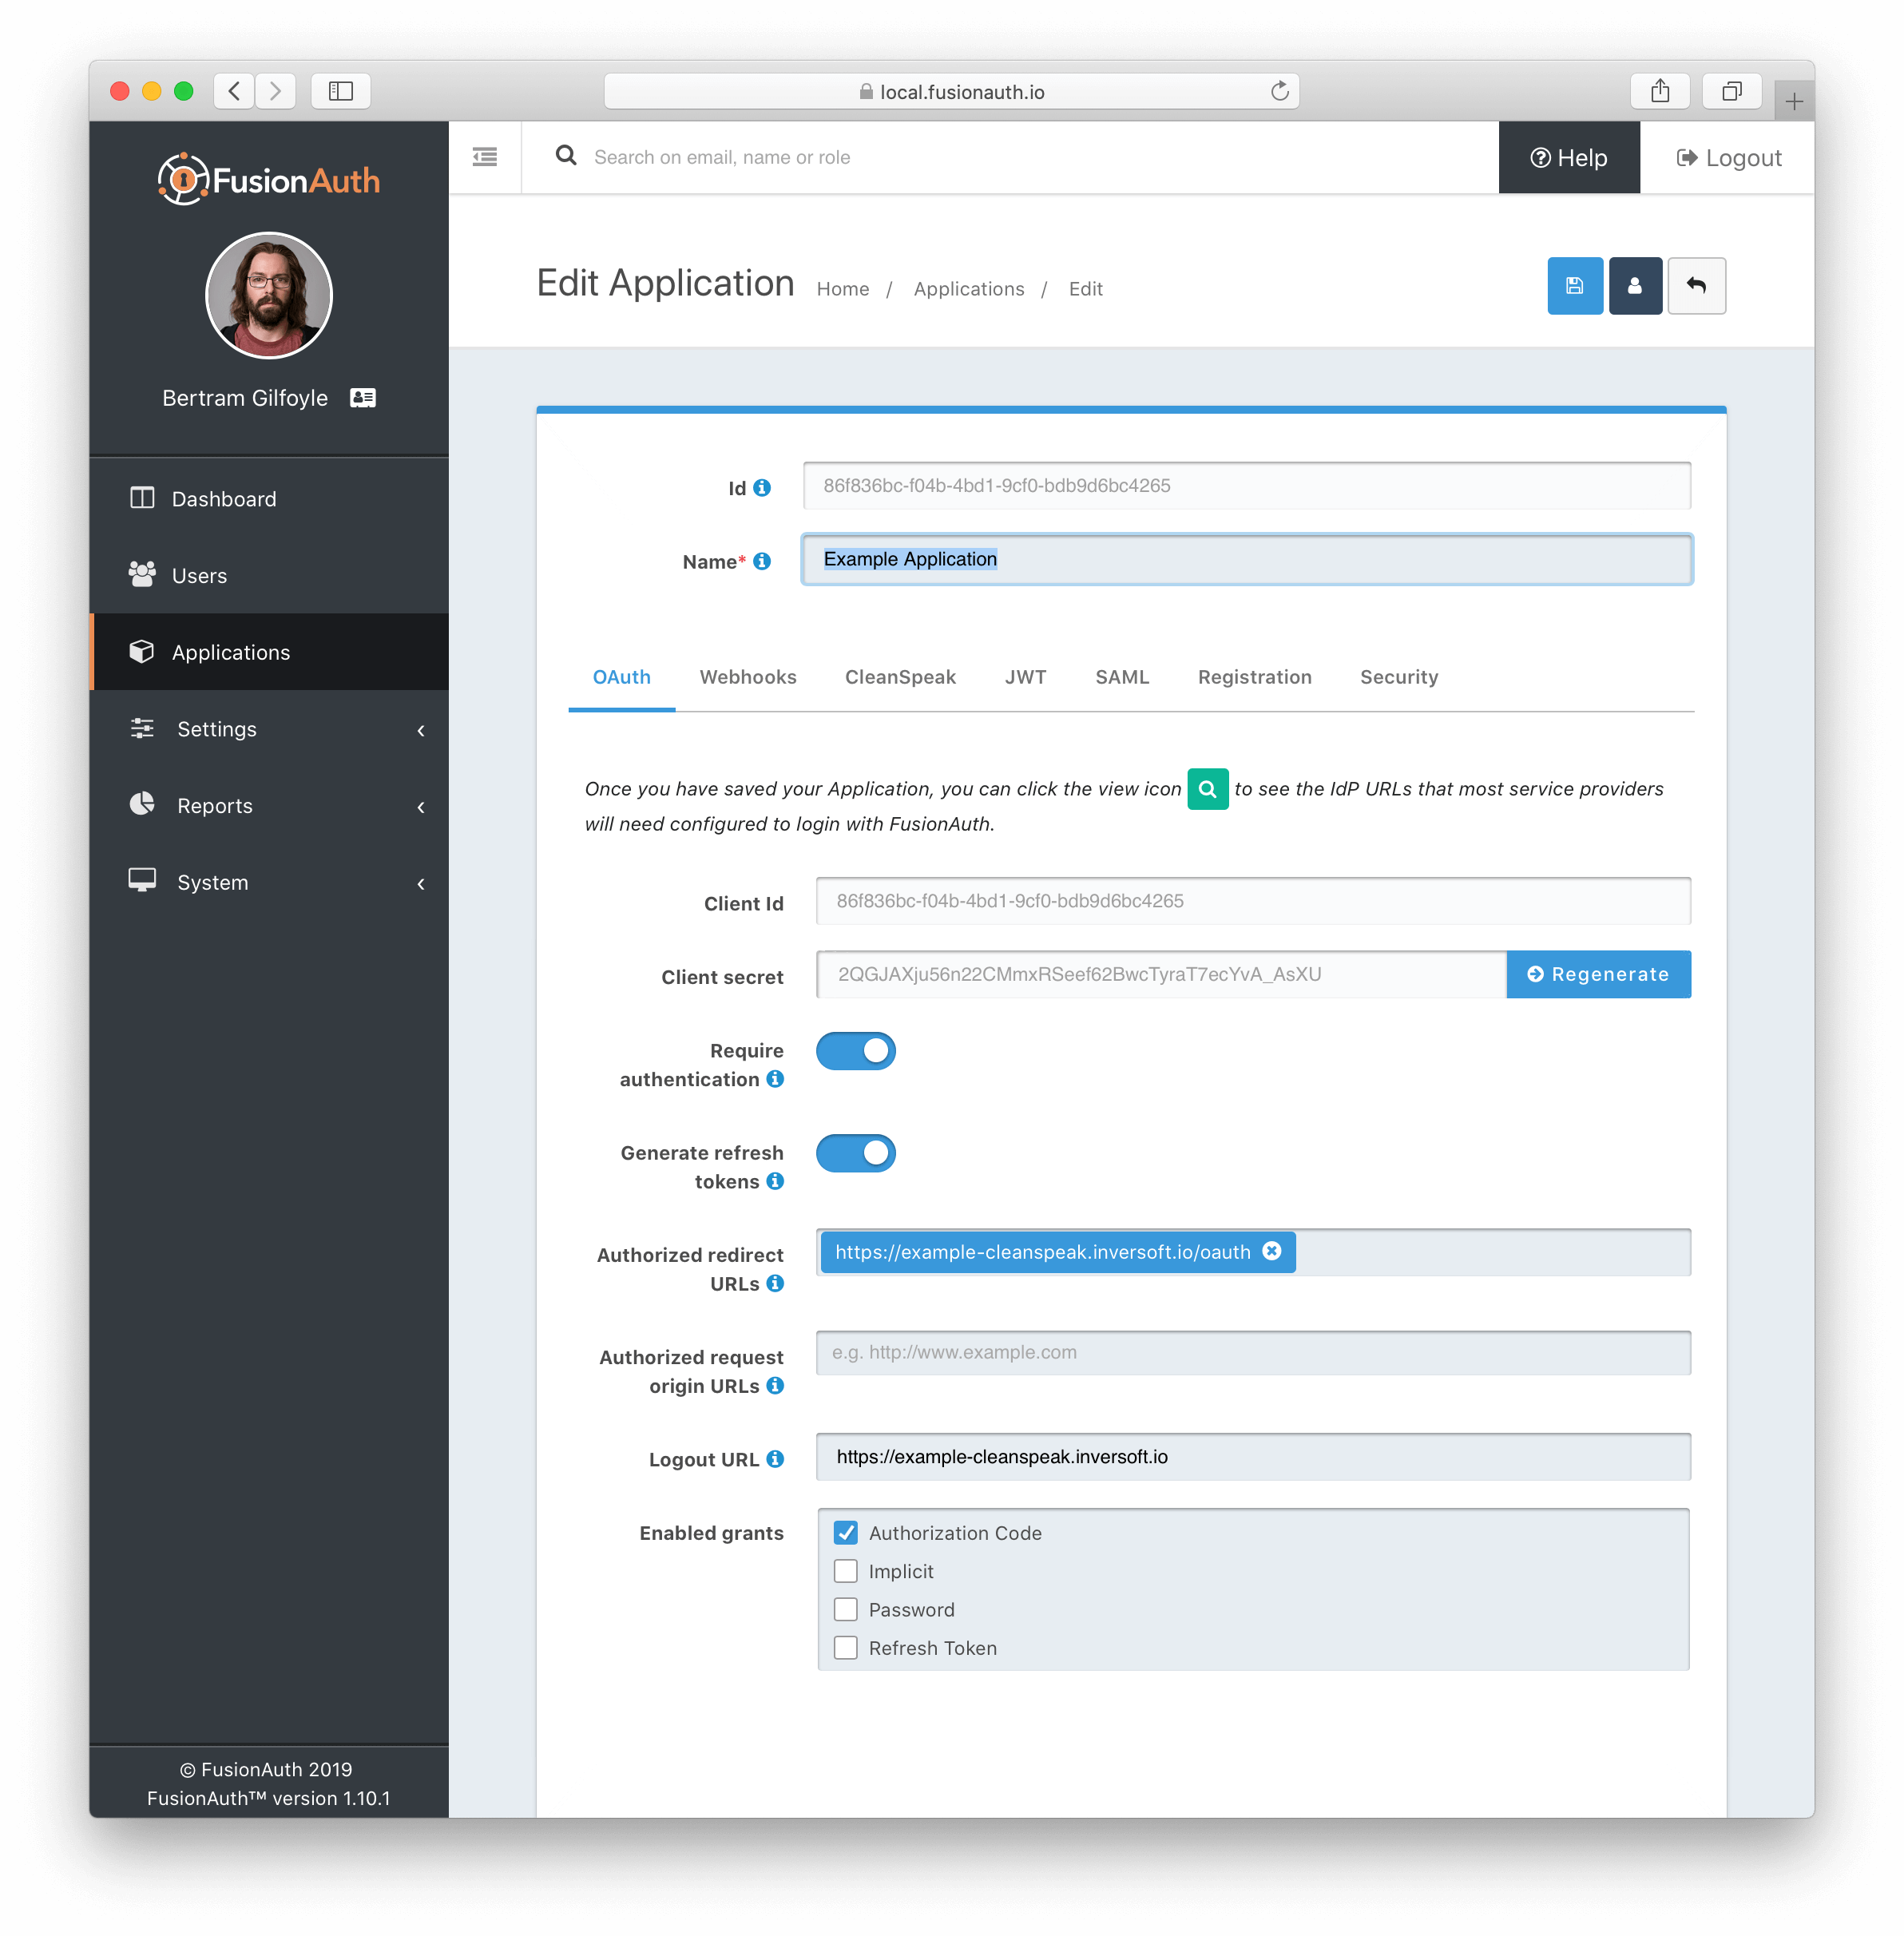
1.2. Configure the FusionAuth Application
-
Set the redirect URL to your CleanSpeak URL with a path of
/oauthfor example:https://example-cleanspeak.cleanspeak.io/oauth. -
Copy the values for the Client Id and the Client secret for use in a later step.
-
Optional: Set the logout URL to your CleanSpeak URL so that after a logout the users will be redirected back to the login page.
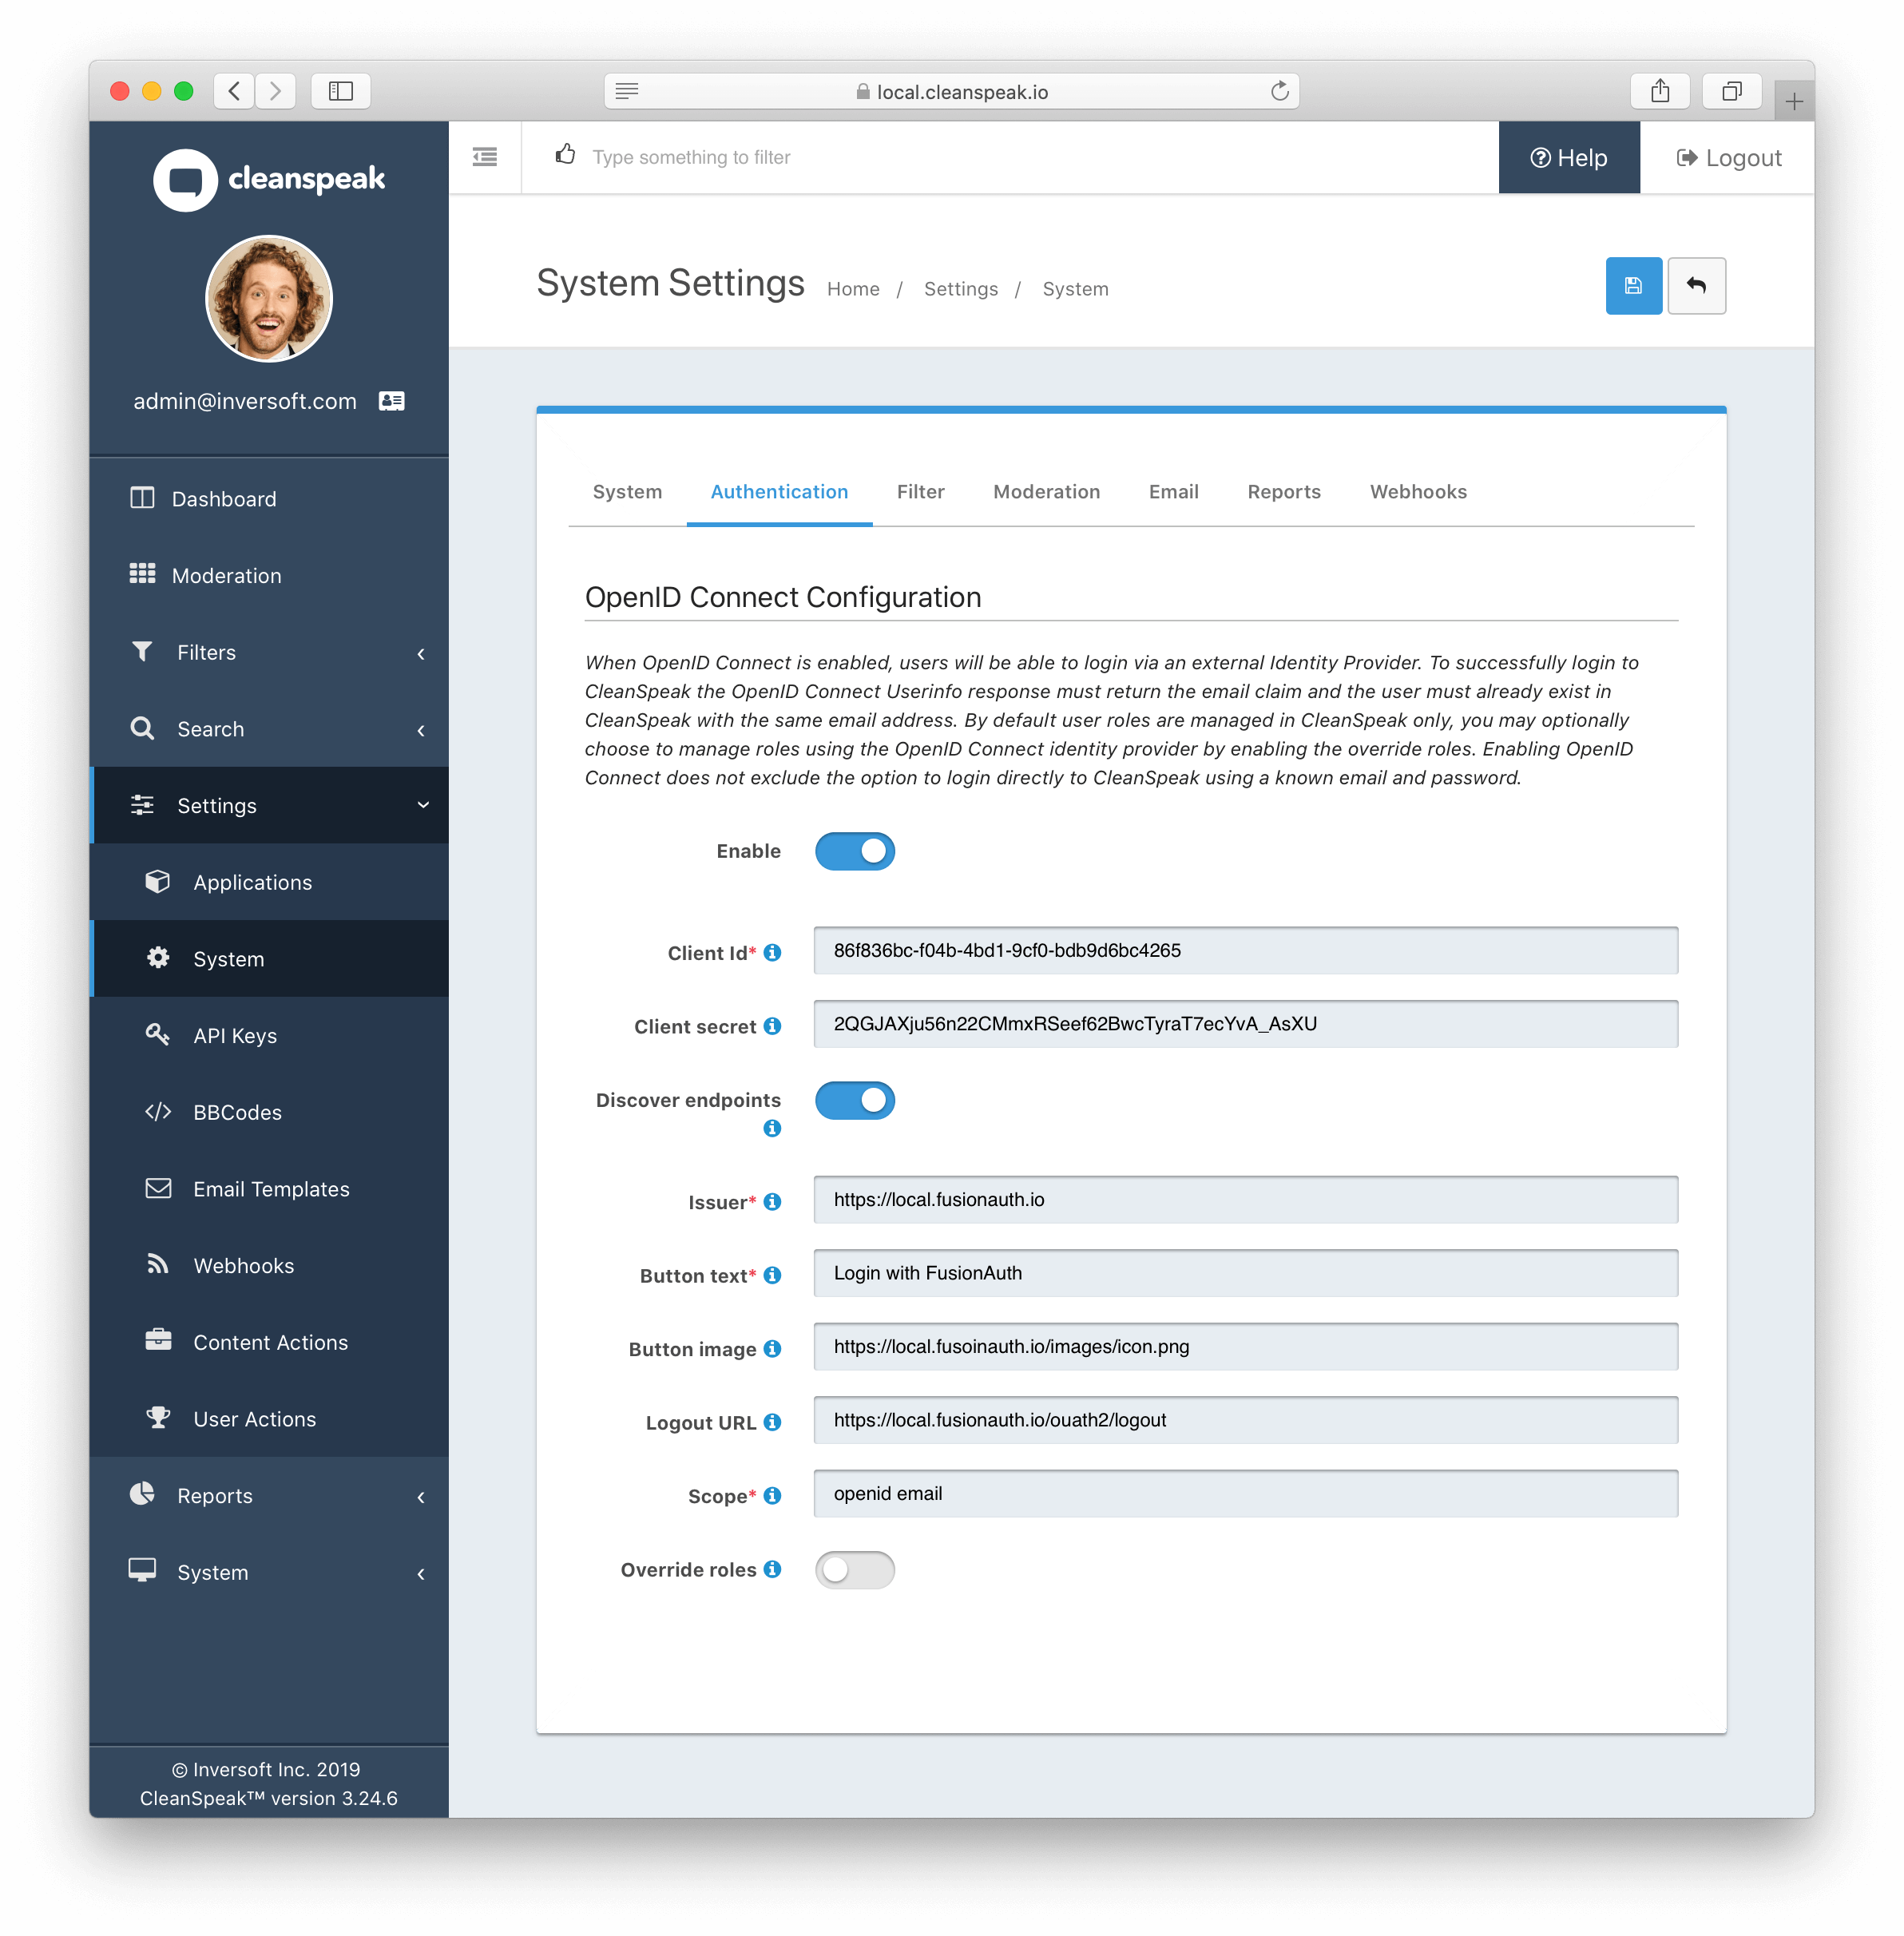
1.3. Configure CleanSpeak
Now we need to copy the values from the last step into the CleanSpeak configuration.
-
Copy the Client Id and Client secret from the previous step into CleanSpeak
-
Set the Issuer to the base URL of FusionAuth.. For example,
https://acme-corp.fusionauth.io -
Set the button text. Ex:
Login with FusionAuth -
Optional: Set the logout URL so that a user is logged out of FusionAuth globally. For example:
https://acme-corp.fusionauth.io/oauth2/logout -
Click Save
1.4. Test the login page
The login page should not contain a Login with FusionAuth button.
