1. Configure OpenID with Azure
Azure OpenID has a slightly different workflow because it uses a slightly different path for the issuer. This is because Azure uses tenant specific OpenID URLs.
1.1. First we again need to create an application.
-
First navigate to your portal
-
Open
Azure Active Directory -
Open
App registrationson the new inner left menu. (The screen should look like the image below)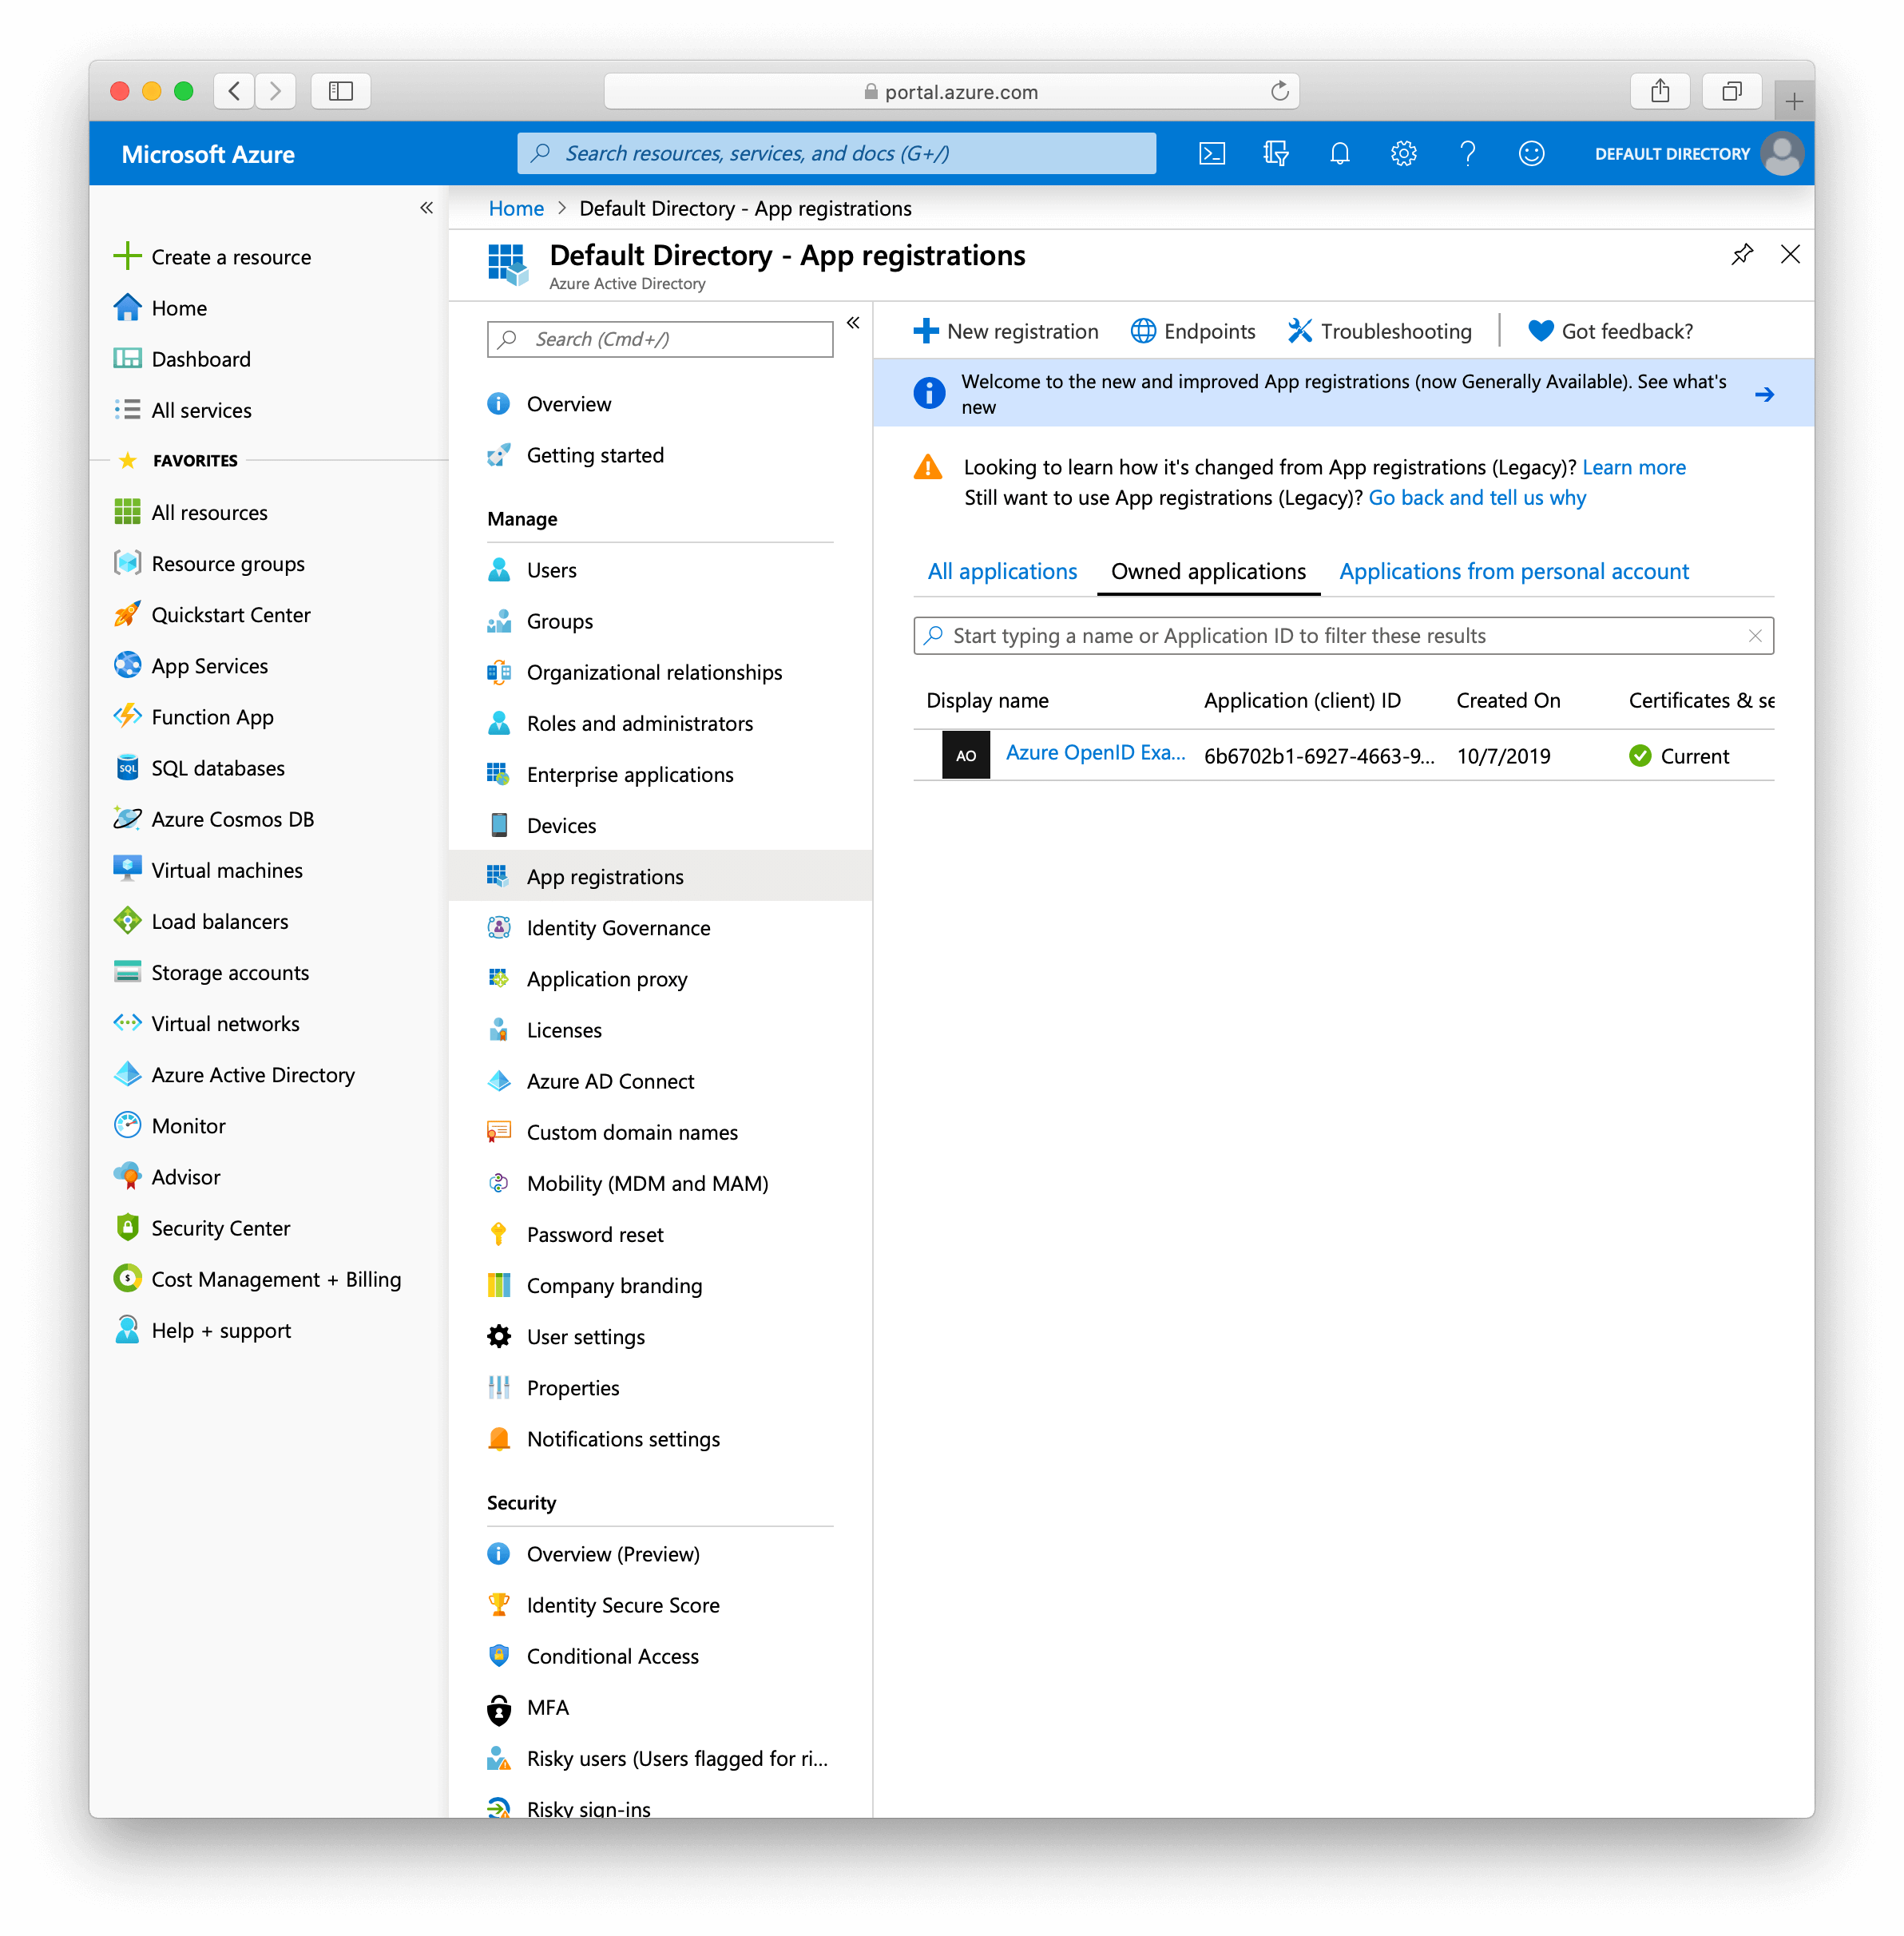
-
Click
New registration -
Choose a name and set the redirect URI
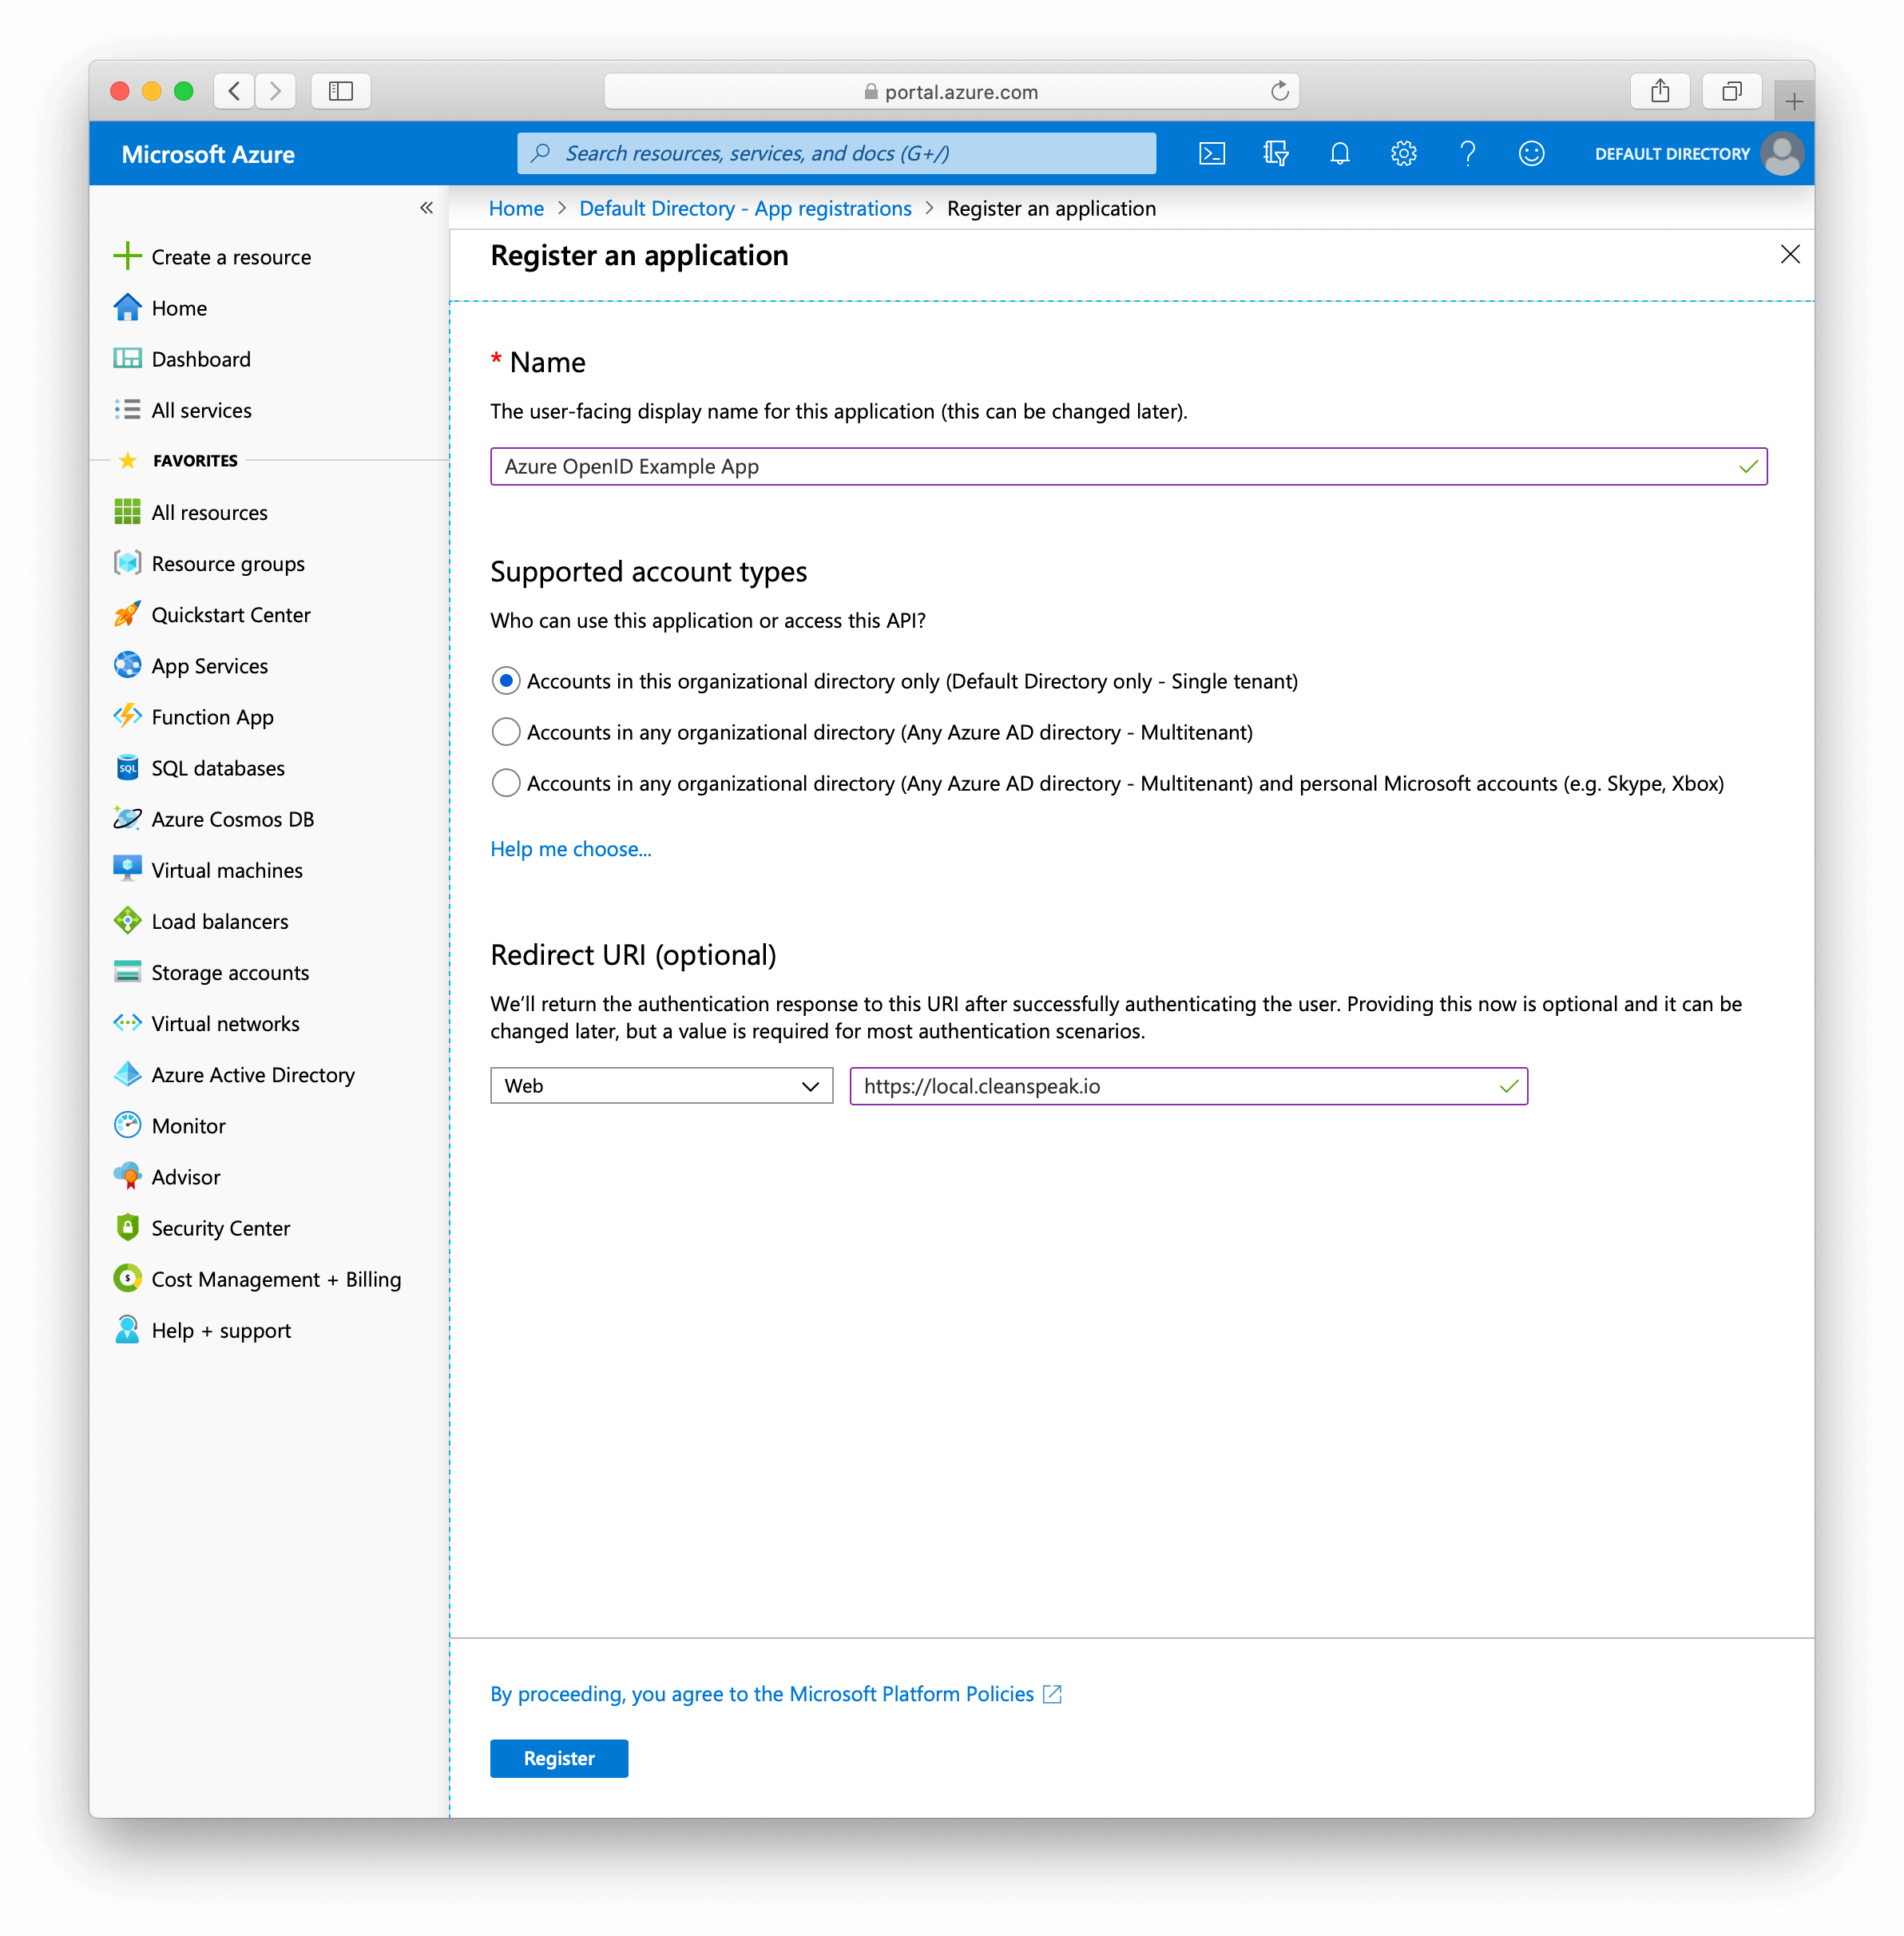
-
Click register
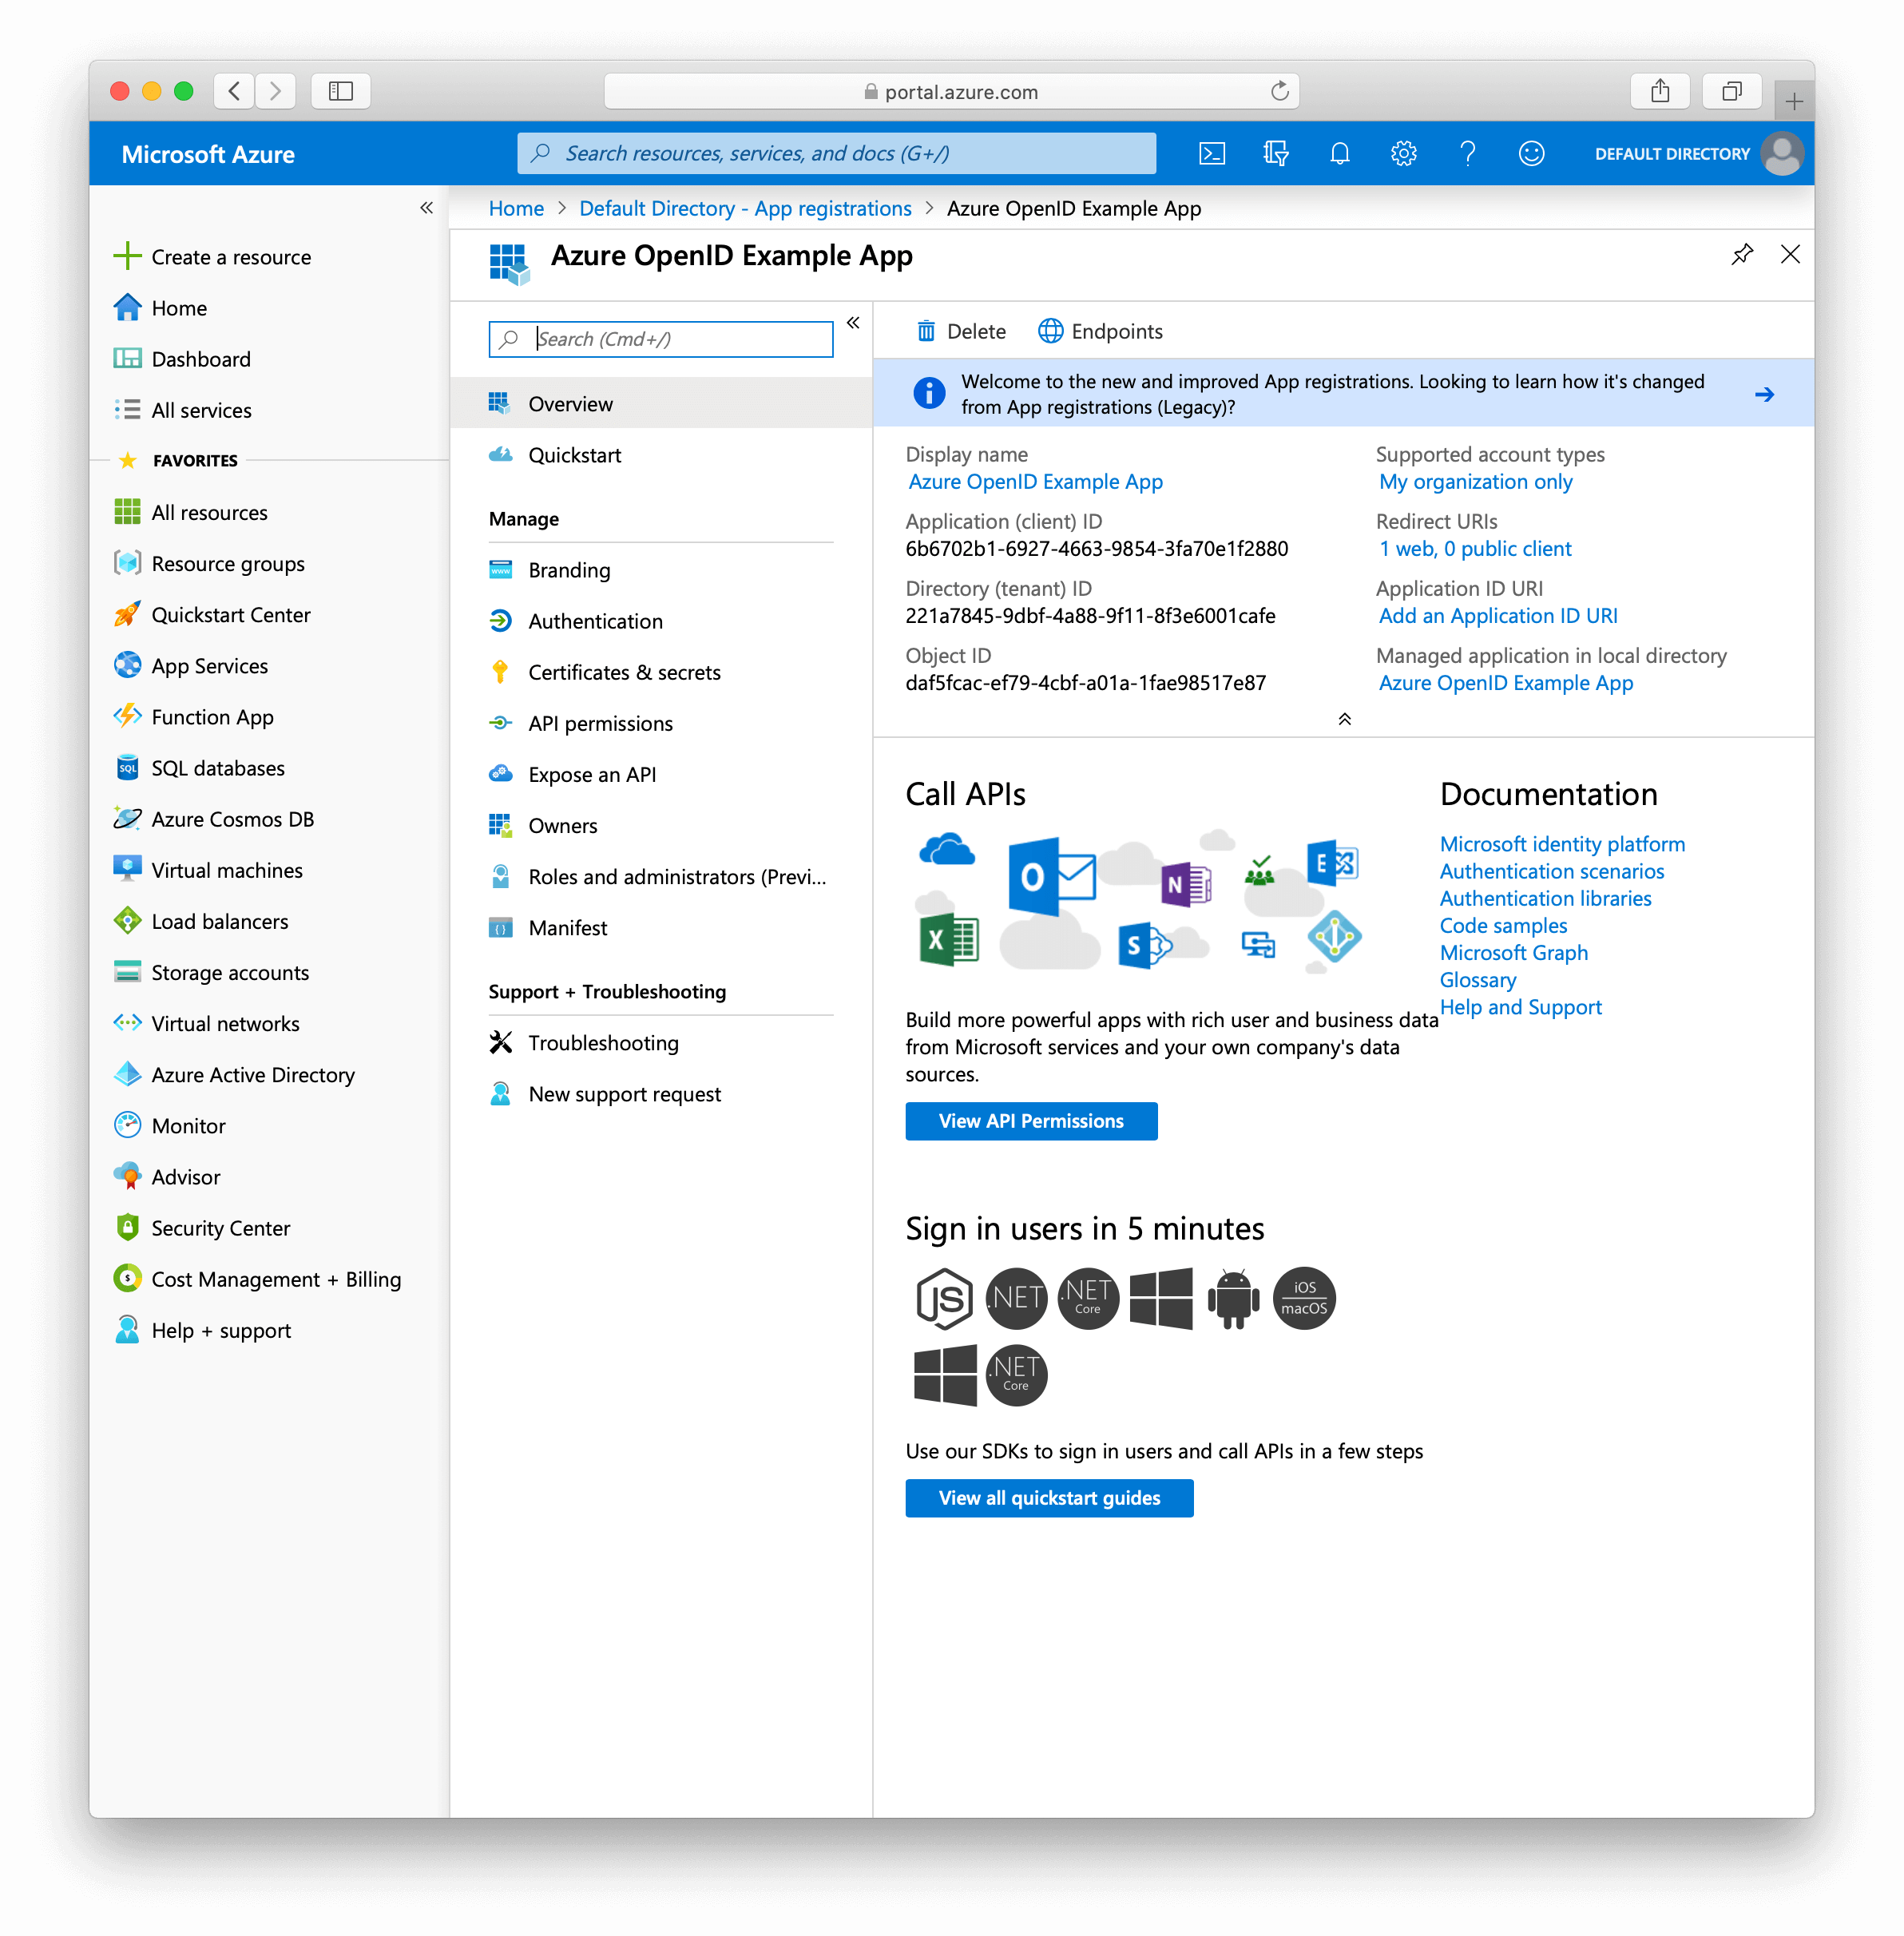
1.2. You should now see a screen like the following.
1.3. Now open CleanSpeak System Settings
-
Paste
https://login.microsoftonline.com/{tenantId}into the issuer field of your. (With{tenantId}replaced with your own) -
Copy the Client ID from your azure application and paste that in the Client ID field of CleanSpeak
1.4. Now we need a client secret (which is required for all web based applications on Azure)
-
Go to your Azure app
-
Open certificates and secrets
-
Click
New client secret -
Choose a name for this secret and create it
-
Copy the secret value to your CleanSpeak OpenID Settings
-
Click save
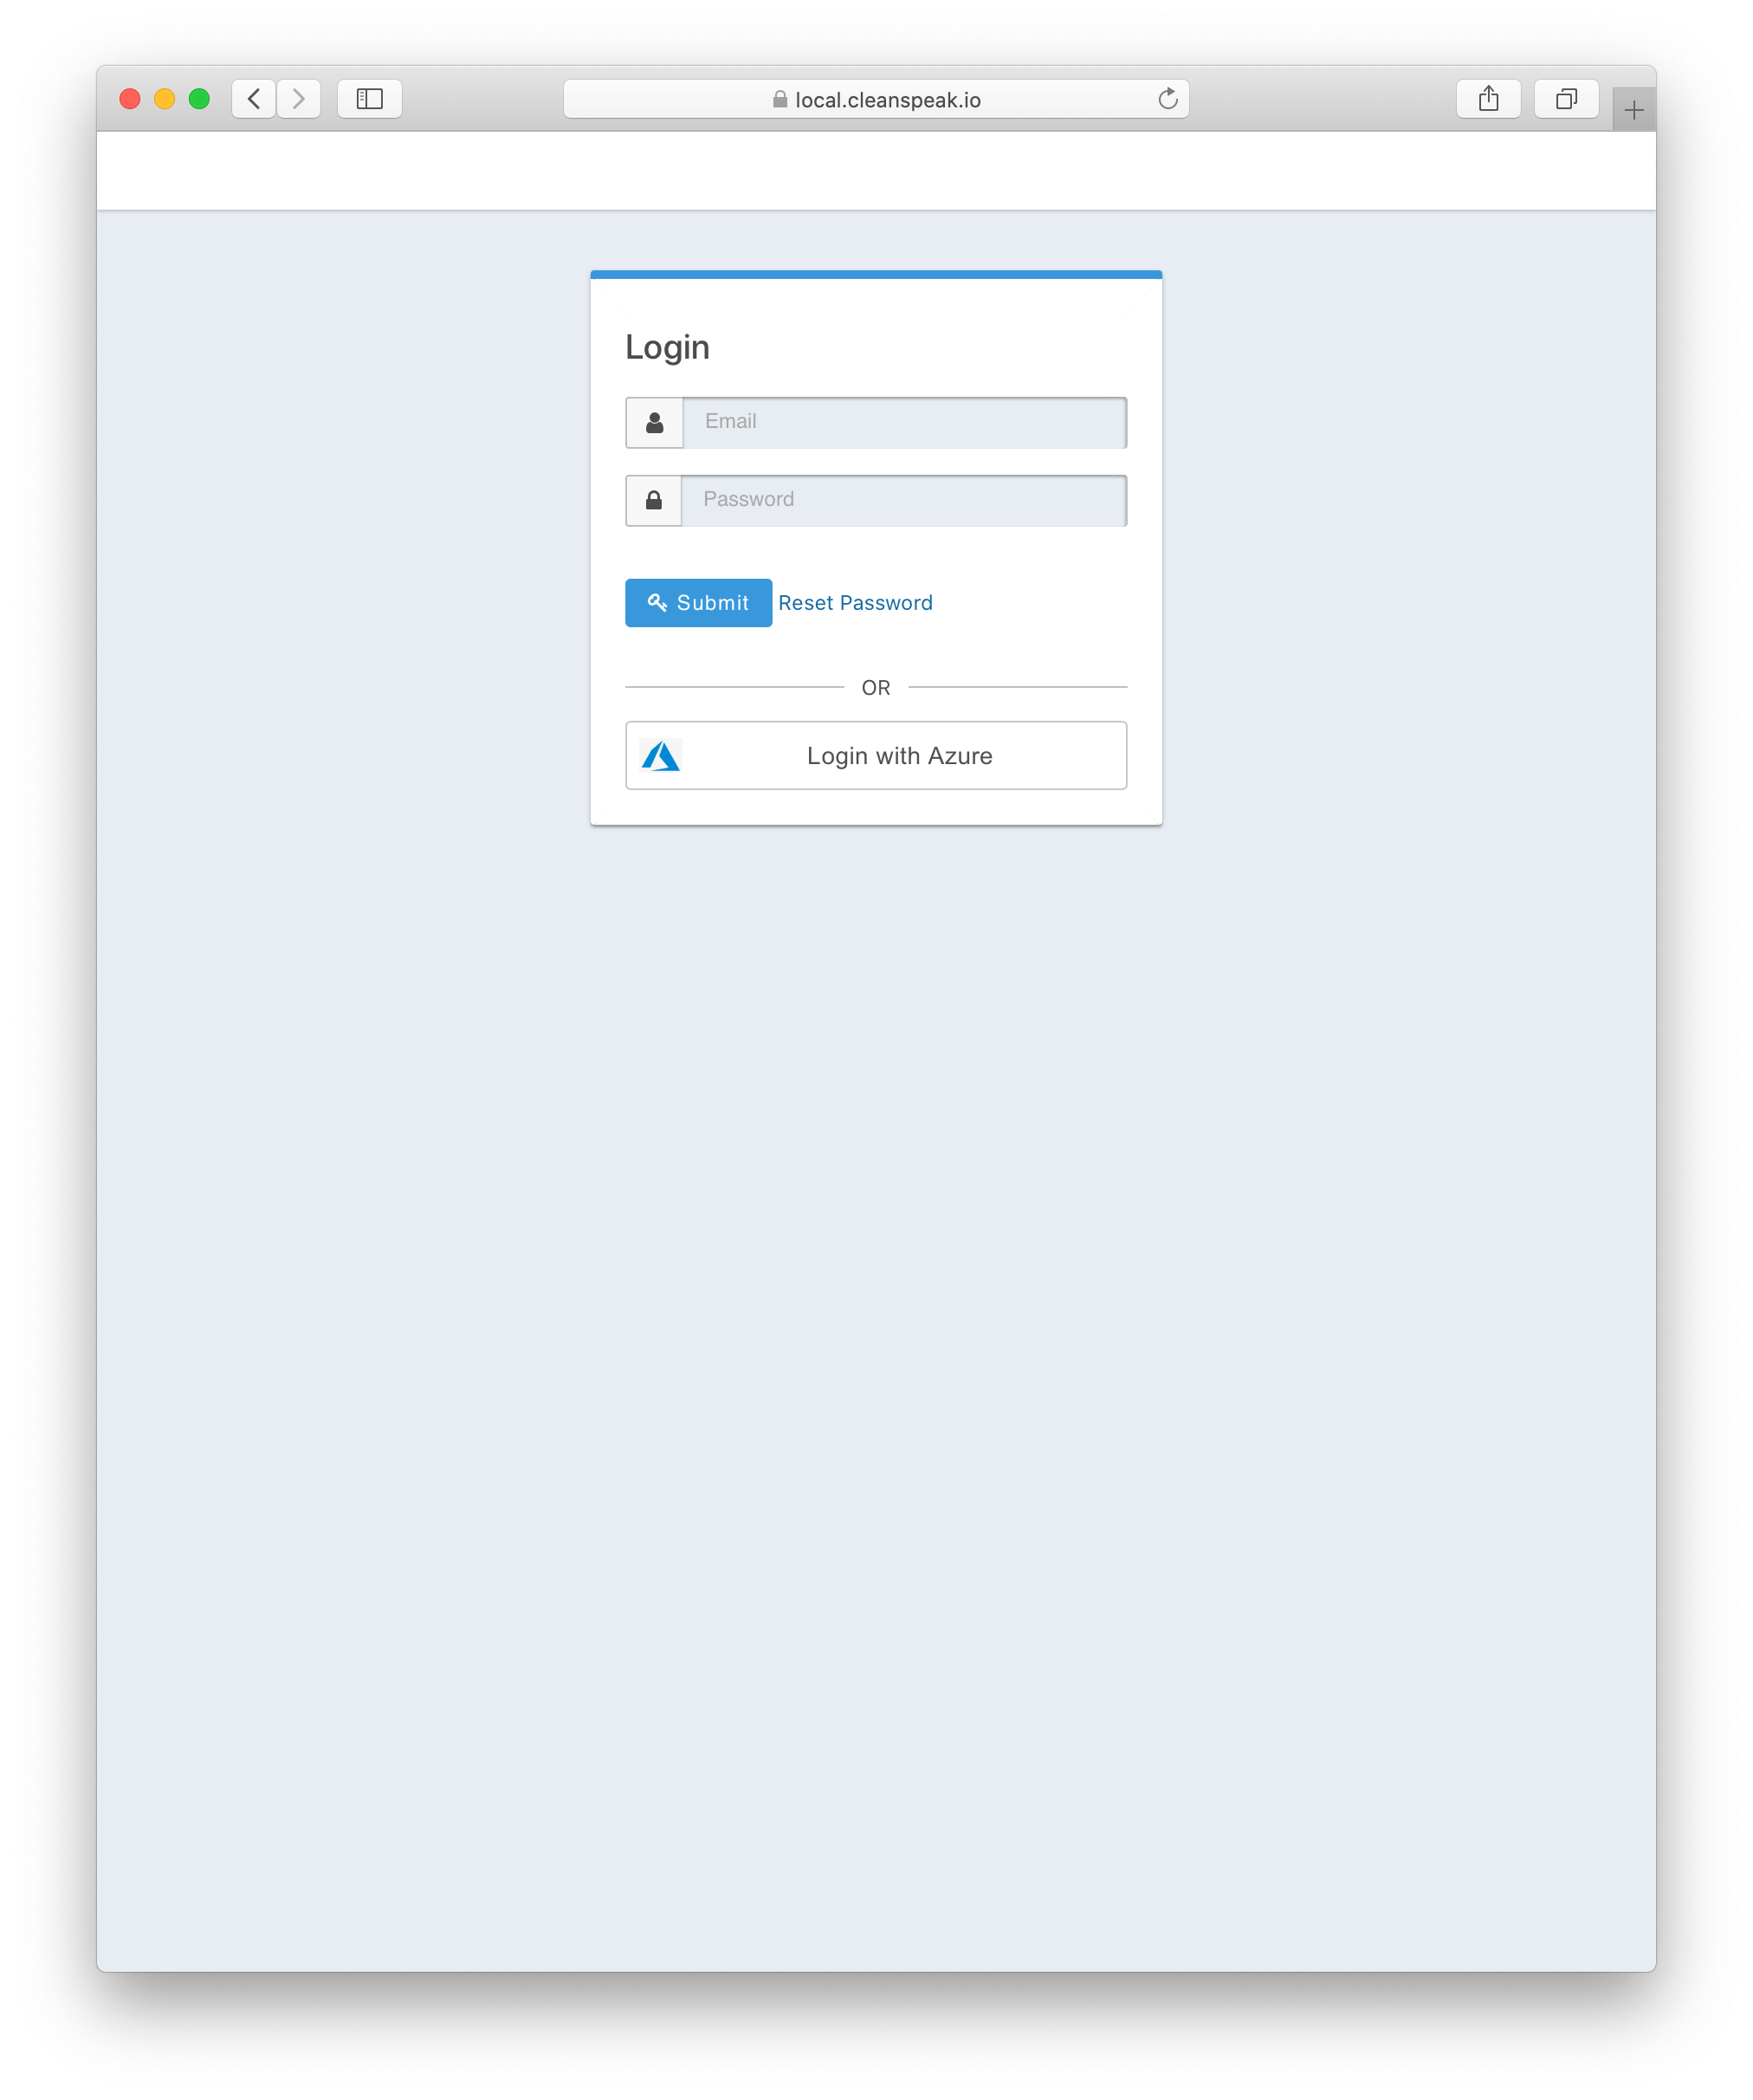
1.5. You can now login with Azure